The Best FiveM Mods
Unleash the Full Potential of GTA RP with Premium FiveM Scripts
- 100% Moneyback-Guarantee
- Open Source
- simple, fast, secure
Coupon: 20off (-20 %)
Pre-Built Servers
Reduce coding time by using our perfect ready to use servers – start your server in a couple of minutes.Fully Open Source
No need to worry about locked resources. All downloads are fully open source and without keymaster.Made for Roleplay
Our resources give you the ability to enhance your RP experience right away. Create your Roleplay Server with our stuff!Superfast Performance
Our mods are made for speed. All resources are lightweight and offer unmatched performance.Newest FiveM scripts
-
FiveM Standalone Scripts
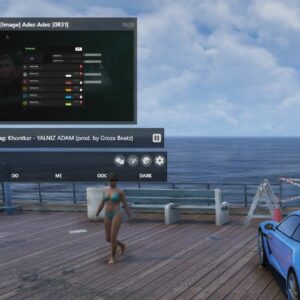
SA:MP Inspired Nametags
Rated 0 out of 5$52.36Original price was: $52.36.$41.65Current price is: $41.65. Add to cartAdd to WishlistAdd to Wishlist -
ESX Scripts
Dusa – Mechanic
Rated 0 out of 5$49.98Original price was: $49.98.$29.75Current price is: $29.75. Add to cartAdd to WishlistAdd to Wishlist -
ESX Scripts
FiveM Daily Lucky Wheel
Rated 0 out of 5$65.45Original price was: $65.45.$41.65Current price is: $41.65. Add to cartAdd to WishlistAdd to Wishlist -
ESX Scripts
Spawn Selector | Location Player Count
Rated 0 out of 5$39.27Original price was: $39.27.$20.23Current price is: $20.23. Add to cartAdd to WishlistAdd to Wishlist -
ESX Scripts
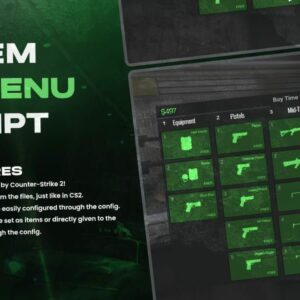
GUN MENU | Inspired by CS 2
Rated 0 out of 5$28.56Original price was: $28.56.$17.85Current price is: $17.85. Add to cartAdd to WishlistAdd to Wishlist -
FiveM Mods
0r Chat V2
Rated 0 out of 5$46.41Original price was: $46.41.$34.51Current price is: $34.51. Add to cartAdd to WishlistAdd to Wishlist -
ESX Scripts
CodeM xFuel
Rated 0 out of 5$39.27Original price was: $39.27.$23.80Current price is: $23.80. Add to cartAdd to WishlistAdd to Wishlist -
FiveM Mods
mHUD
Rated 0 out of 5$35.70Original price was: $35.70.$20.23Current price is: $20.23. Add to cartAdd to WishlistAdd to Wishlist
100 % Refund Guarantee
✅ 100% Refund Guarantee according to our terms
✅ Future Support included
Every product we sell comes with a 30-day money-back guarantee. Have a problem? Let us know and we’ll make it right!

SAVE -20%
Voucher Code: 20OFF
Premium Scripts for FiveM Roleplay
BestFiveM is the #1 destination for top-tier FiveM scripts.
We specialize in unleashing the full potential of GTA RP servers, offering premium resources to enhance your gaming experience.
FAQ
Why BestFiveM.com?
BestFiveM is the #1 choice because we offer an extensive range of mods and scripts, fully optimized to enhance your GTA RP Server, ensuring an exceptional gaming experience.
All FiveM scripts are tested and work 100%
How do I navigate your website to find the mods and scripts I need?
Our website is user-friendly, allowing you to easily browse through categories, use filters, and utilize our search function to quickly locate the specific resources you require.
How to install FiveM resources?
Our downloads are easy to install:
- Put the downloaded files into your resources folder
- Edit your server.cfg, add ‘ensure mod’
- Restart your server
How can I use the refund-guarantee?
Please login to your account and contact us via ticket.
Why choose BestFiveM?
We’re committed to excellence, offering open-source solutions, regular updates, and a 100% money-back guarantee for your satisfaction. Plus, our user-friendly interface ensures you can find the mods and scripts you need in no time.
Ready to revolutionize your GTA RP server?
Explore our wide range of products today and join the BestFiveM community. Let’s unlock endless possibilities together and elevate your gaming experience to new heights!


