What’s the Rockstar Editor?
The Rockstar Editor, introduced by Rockstar Games, represents a pioneering step in in-game recording and editing technology. With its multifaceted features, players can record, edit, and share their unforgettable adventures and exceptional stories created within ‘Grand Theft Auto V’ and ‘GTA Online.’ This comprehensive tutorial will guide you, step by step, to harness the full potential of Rockstar Editor and FiveM, to create something truly remarkable.
Step 1: Capturing Your Gameplay Footage
To embark on your journey towards creating engaging narratives and breathtaking action sequences, you first need to gather the raw materials – the footage. In ‘GTA V’, you initiate recording by simply hitting the ‘F1’ key. Aim to capture diverse scenes from a plethora of perspectives, keeping in mind the narrative or message you aspire to convey through your footage.
When recording, it’s crucial to focus not only on the main action but also the surroundings, which can add depth to your narrative. Consider recording dialogues, chase sequences, tranquil moments, and more, to provide yourself with a rich canvas of options during editing.
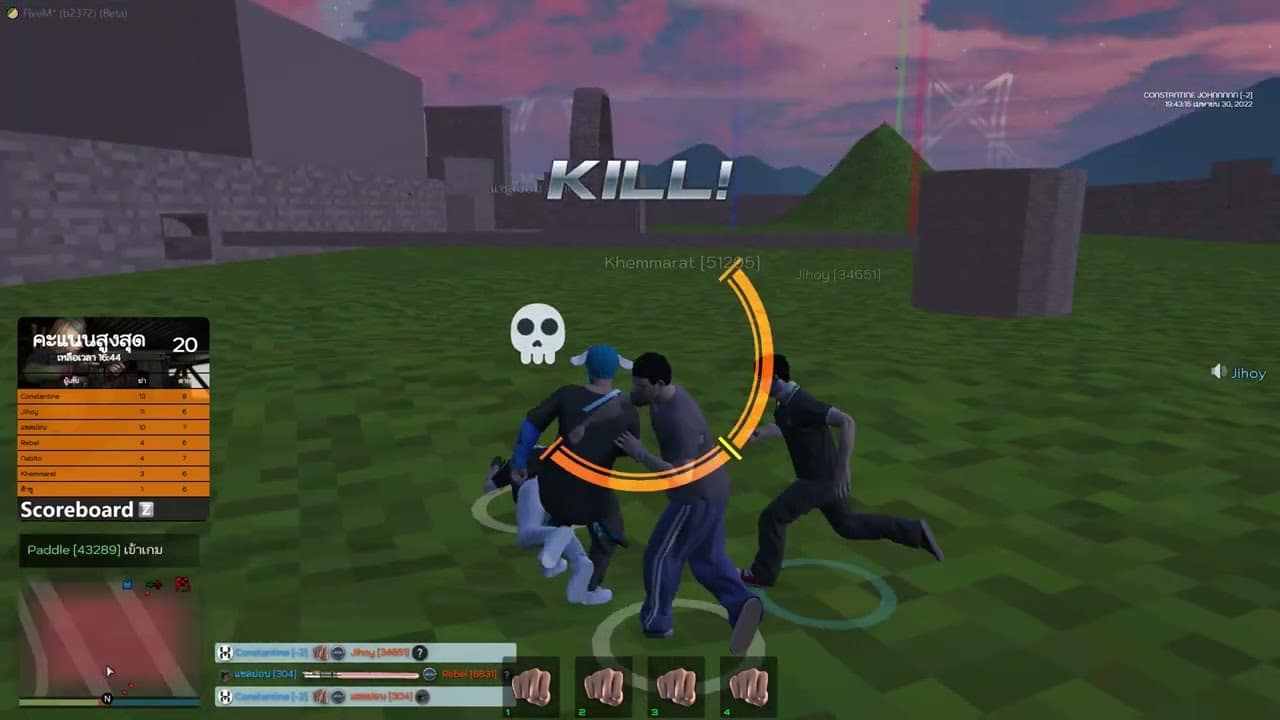
In FiveM, a community-driven multiplayer modification for ‘GTA V,’ you have the ability to record gameplay in the same way. Ensure that you have necessary permissions if you’re recording on a private server. The advantage with FiveM is the capacity to include community-created content in your footage, which can lend your project a unique charm.
Step 2: Unleashing the Power of the Editor
Once you’ve accumulated enough raw footage, it’s time to unleash the power of the Rockstar Editor. From the pause menu of ‘GTA V’, navigate to the Rockstar Editor, then click on ‘Create New Project’, and subsequently ‘Add Clip’. Here you can select and import the clips you recorded earlier.
The timeline in Rockstar Editor is where you adjust the duration and sequence of your clips. Clips can be reordered by dragging and dropping, giving you the freedom to determine the flow of your story.
Furthermore, you can select from an array of camera angles to view your scenes. Combine high angles, low angles, and everything in-between to keep your footage dynamic. Additionally, numerous filters are available for you to set the mood of your story, whether it’s dramatic, comedic, or something else entirely.
Step 3: Mastering the Camera
A distinguishing feature of the Rockstar Editor is its free camera. Once you’ve selected ‘Cameras’ and then ‘Free Camera,’ you have the freedom to navigate anywhere within the sphere of action of the scene.
This camera freedom enables you to view the action from virtually any perspective, offering a cinematic feel to your project. You can focus on the protagonist’s expressions, emphasize the speed of a chase, or showcase the environment around the action. Experimenting with various angles and camera movements can significantly enhance your narrative’s impact.
The blend mode option becomes vital when dealing with fast-paced, dynamic scenes, as it smoothens the transitions between different camera angles. Keep in mind, strategic camera placement and movement can elevate your storytelling to an entirely new level.
Step 4: Incorporating Effects and Audio
Once you’ve nailed the visual aspect, it’s time to delve into the finer details. Under the ‘Effects’ option, you can add an array of visual filters, adjust the depth of field, tweak saturation, or play with contrast. Each of these alterations can dramatically change the aesthetic of your footage, helping you craft the exact look and feel you’ve envisioned.
For audio, under the ‘Audio’ tab, you can add tracks from in-game radio stations or include sound effects to enhance the atmosphere of your scenes. When selecting music, remember to comply with copyright laws if you’re planning to share your video publicly.
The combination of compelling visuals with a fitting soundtrack can breathe life into your footage, transforming it into a captivating narrative.
Step 5: Finalizing, Exporting, and Sharing Your Creation
After investing your creativity and effort into your project, it’s finally time to present it to the world. You can finalize your project by selecting ‘Export’ to render your video. While exporting, you have the choice to select the quality of the video. Keep in mind that higher quality exports require more time to render.
Post rendering, you can share your creation directly to platforms like YouTube, or share the raw file so others can watch it on their preferred devices. Rockstar Editor offers a convenient portal to share your experiences and creative vision with the ‘GTA V’ community and beyond.
In conclusion, Rockstar Editor is a powerful and versatile tool for showcasing your unique perspectives of the ‘GTA V’ universe. Like any art form, it requires practice and patience. Start recording, experiment with different tools, and let your creativity guide you. With persistence and passion, you’ll evolve into a skilled Rockstar Editor director, weaving together compelling narratives that engage viewers and showcase the vibrancy of the ‘GTA V’ world.
This marks the end of our detailed tutorial on Rockstar Editor for ‘GTA 5’ and FiveM. Remember, your imagination and creativity are your only boundaries. Wishing you an exhilarating editing journey!


